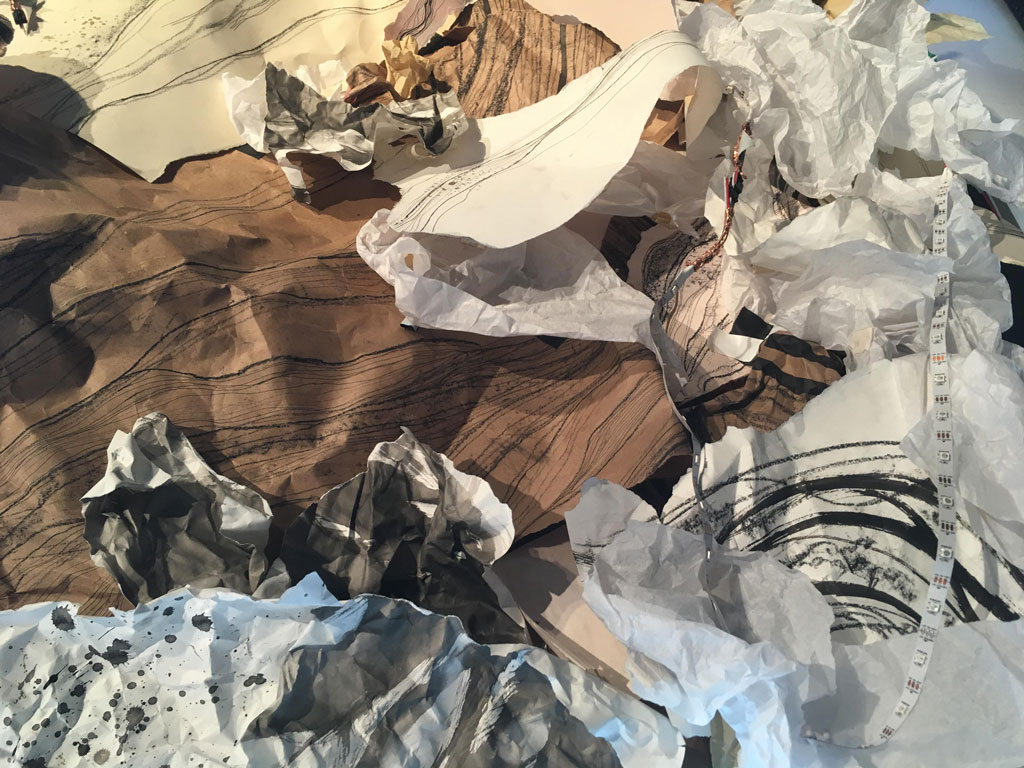
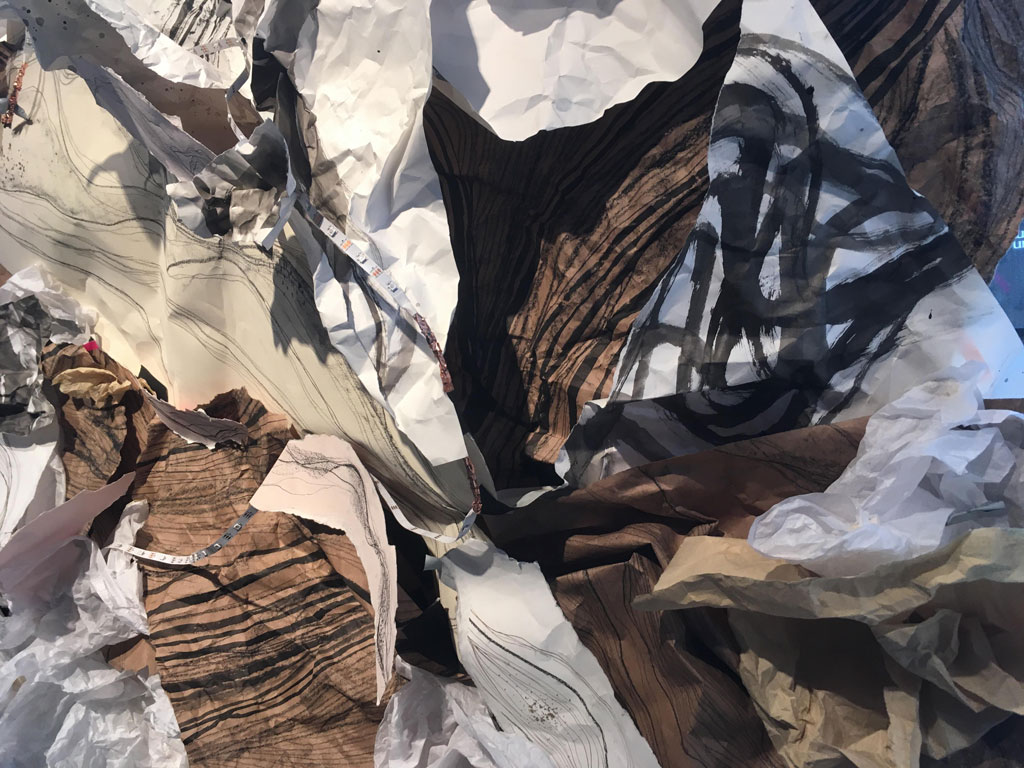
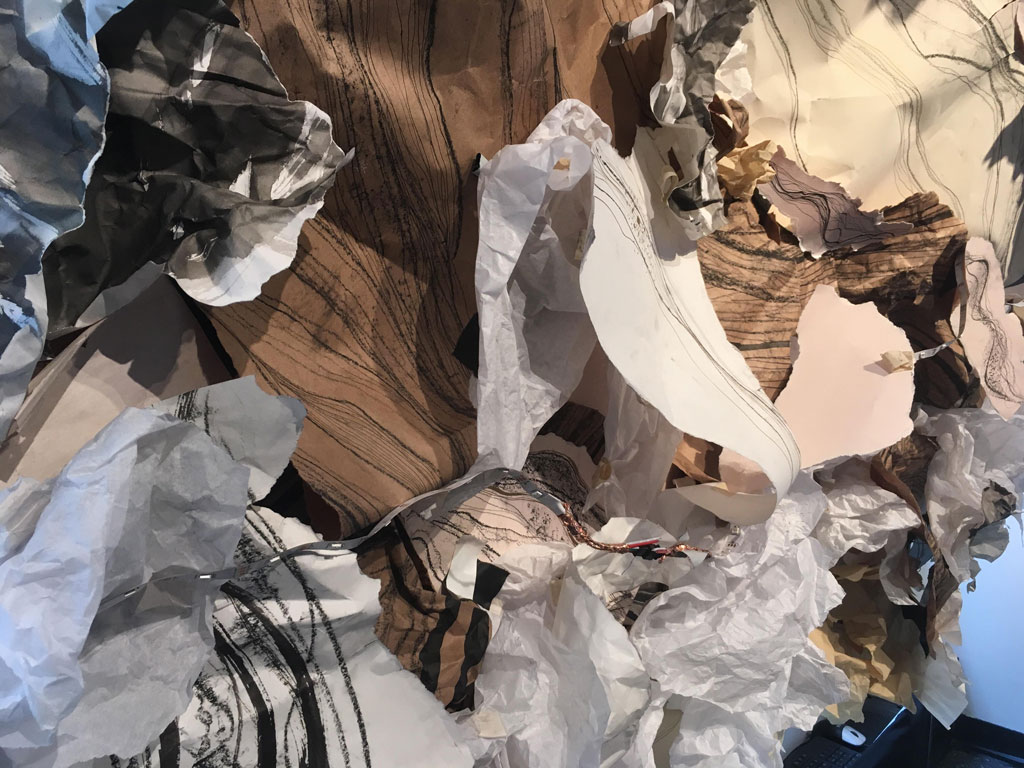
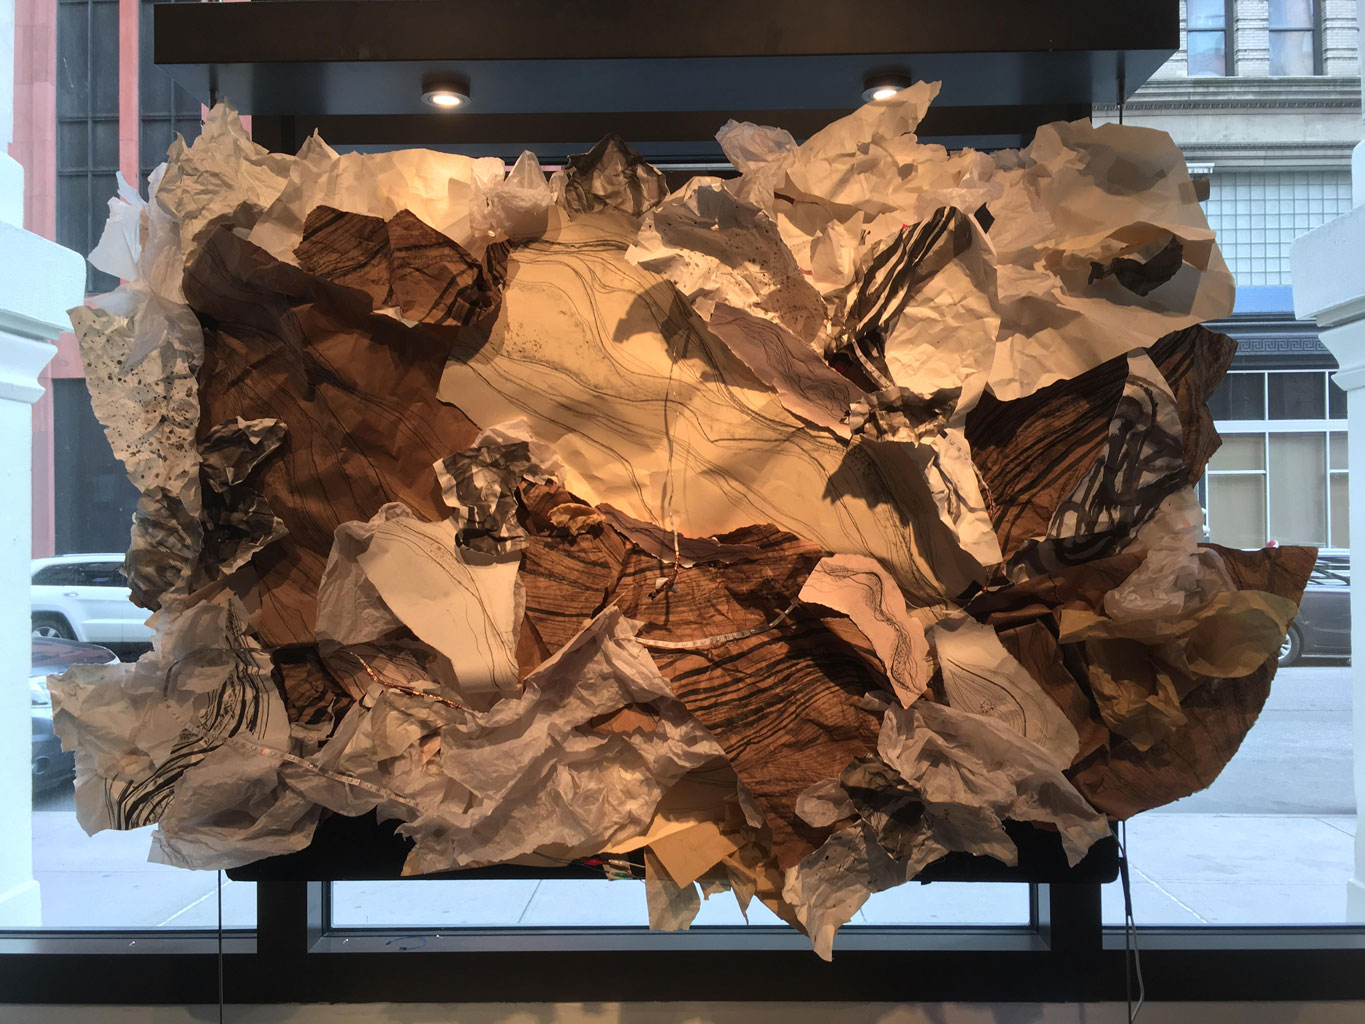
Interwoven is an interactive multimedia installation made in collaboration with my friend, Elaine Lo. The project was showcased at the Galltin Arts Festival 2018. Our code can be found on GitHub. Interwoven combines the natural tactility of found material with physical computing. As the viewer approaches the piece, LEDs light up across Interwoven's surface, activating the work and the space it occupies and implicating the viewer in this exchange. This responsiveness reflects the ethics of living responsibily during a time of anthropgenic climate change and environmental injustice. Interwoven is an interactive work that emphasizes the need to look to life as a diverse assemblage of inter- and intra-related entanglements, connections, branches, and networks, and a way of seeing all living things as kin.
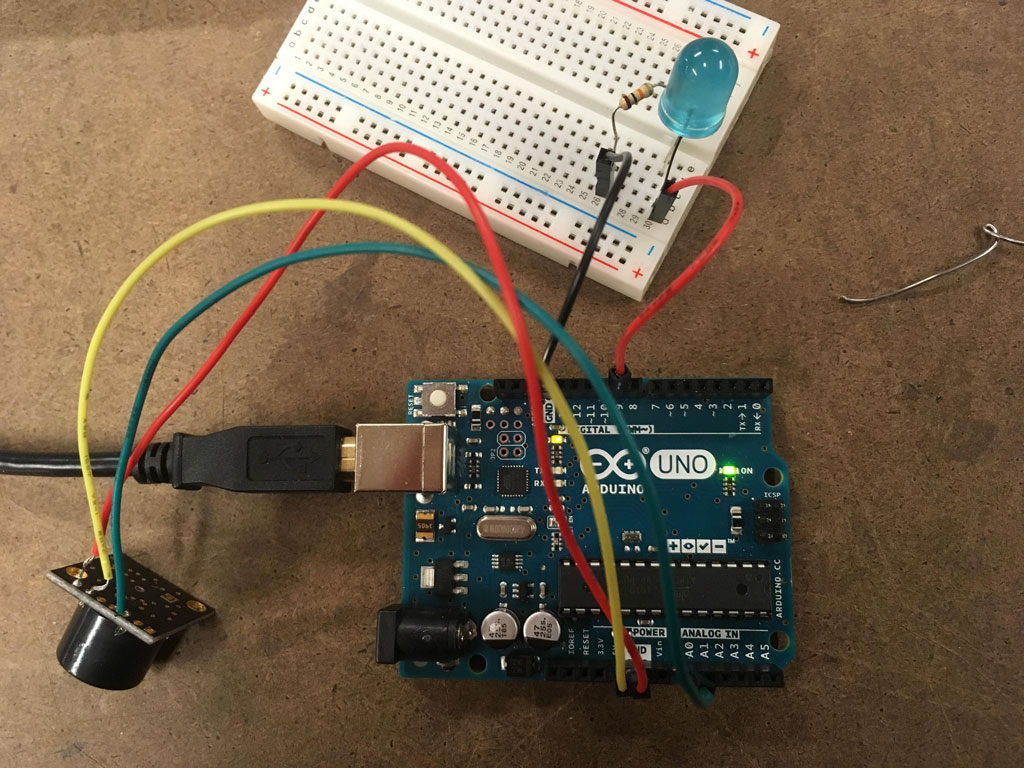
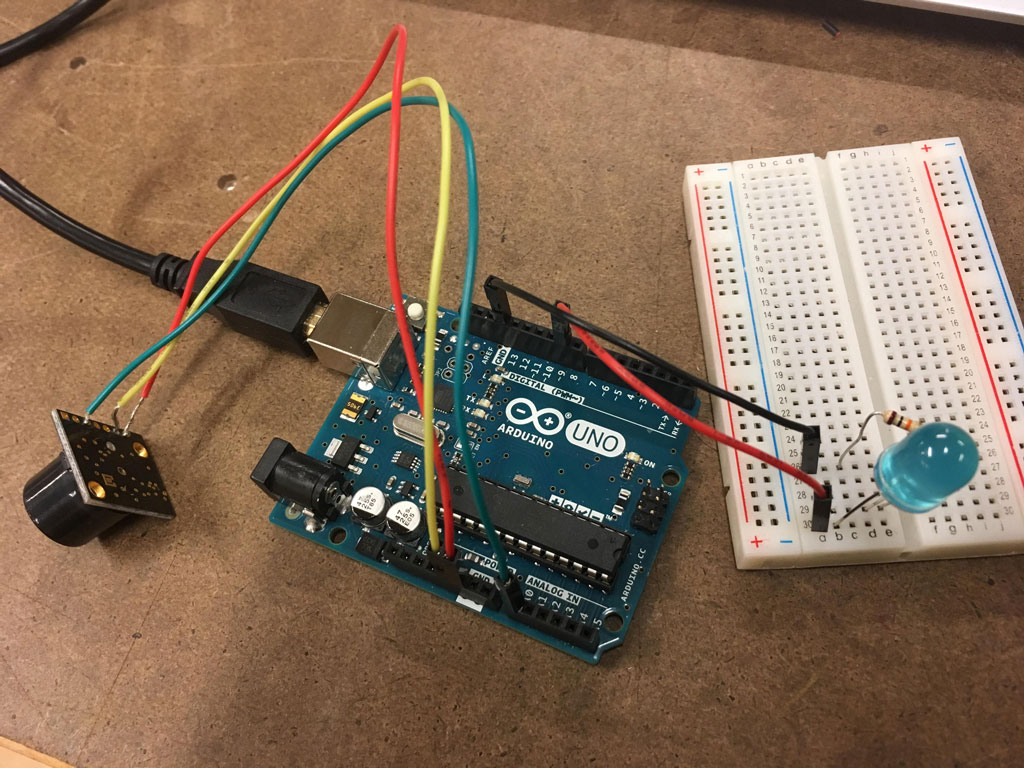
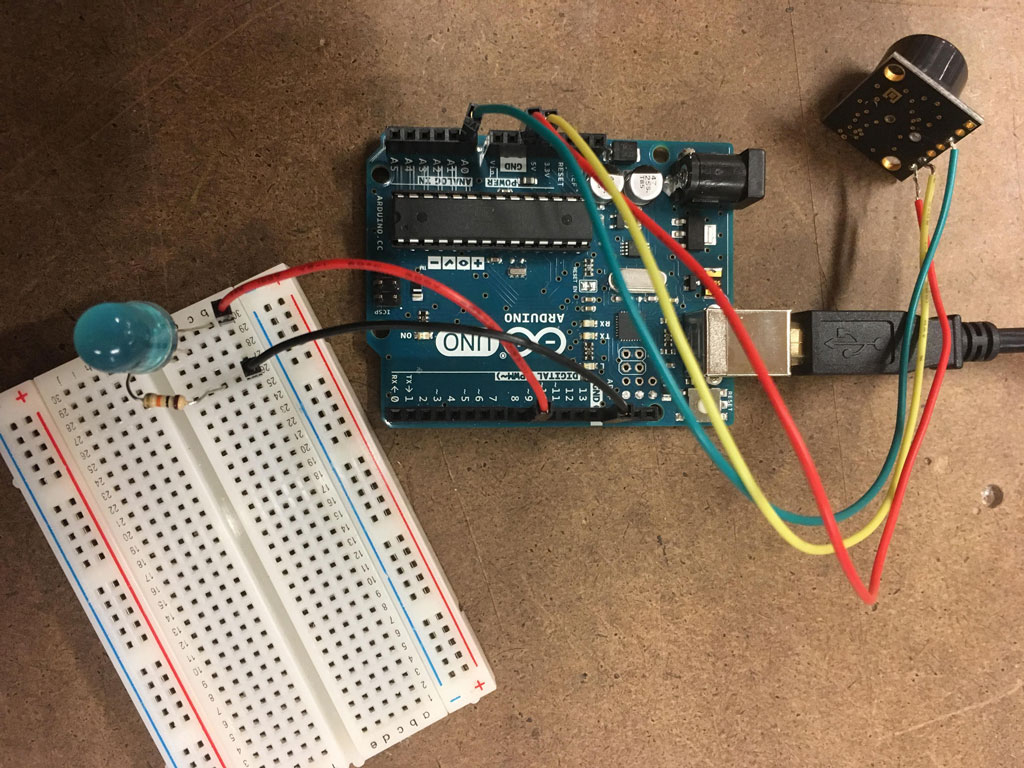
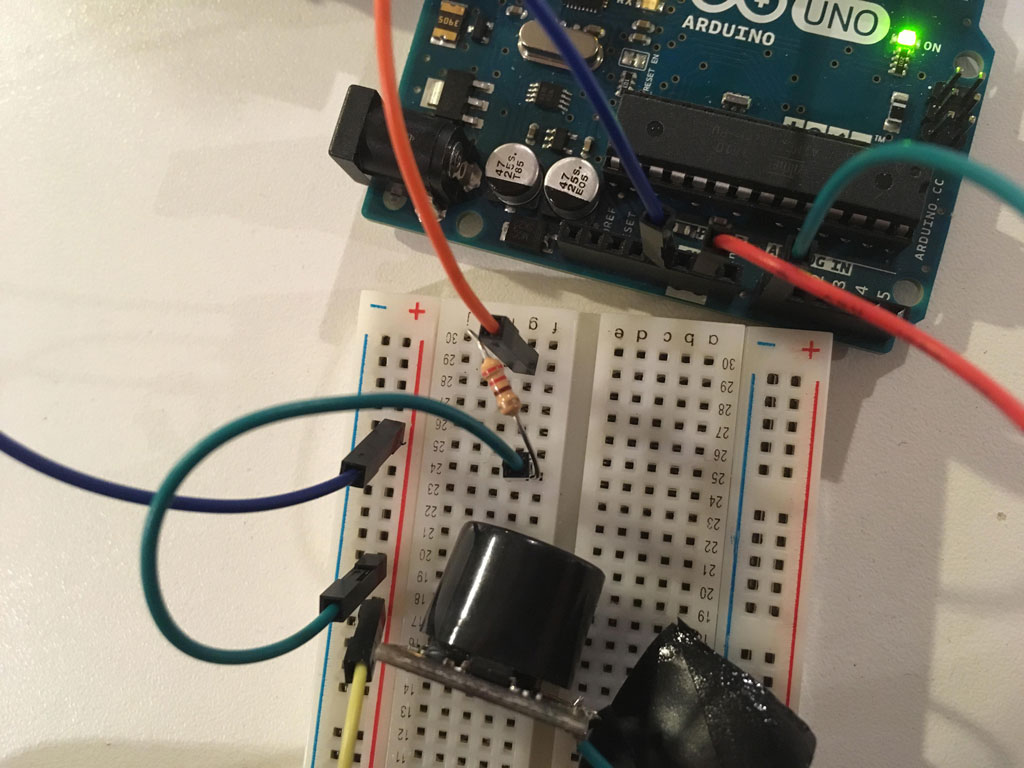
3/22/18: After our proposal for Interwoven was accepted to the Gallatin Arts Festival, Elaine and I picked up the Maxbotix Ultrasonic Rangefinder LV-EZ0. Our goal was to map the viewer's distance from the sensor to an LED strip, so if the viewer was, let's say, two feet away from the sensor, the strip would start reacting to the viewer's position. If the viewer was a few inches from the project, the strip would be at nearly maximum brightness, whereas if the viewer was two feet away or farther, the strip would be dim or completely dark. Since our project was going to be tall and wide, my former creative computing professor suggested we use an ultrasonic rangefinder since it has a wide "beam" (area in front of sensor) and a long "throw" (distance from sensor).
Neither Elaine nor I had used ultrasonic rangefinders before, so we figured it would be easier to install the project piece by piece, rather than buy all of the materials and try to fit everything together simultaneously. We followed the datasheet for the sensor, which made setting up the code and adjusting the distance limits for the sensor pretty easy. Since we just wanted to test the sensor at this step, we connected it to a single LED to make sure the distance being read was able to correlate to the brightness of the LED. Here is our code for the single LED with the sensor.
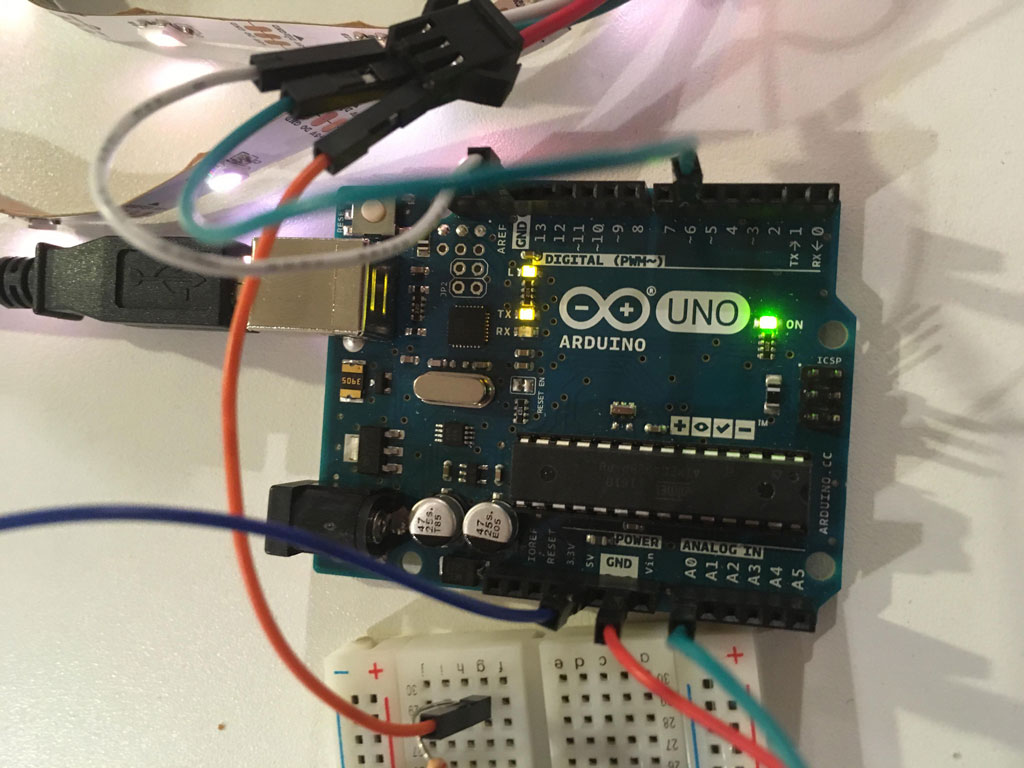
3/25/18:After setting up the sensor, we tried adding the LED strip. We ran into a few bumps at this stage, including buying the wrong strip (it was 12V and the microcontroller can only output 5V), but the main problem was figuring out how to program the strip to the sensor. We used the NeoPixel RGB LED strip (WS2812), but quickly realized the code we used for the single LED was vastly different from what we needed to use for the strip.
Our first problem was deciding which library to use. We began with Adafruit's NeoPixel library, but then read somewhere that to adjust the brightness of the strip we should try the FastLED library since we're not supposed to adjust brightness with Adafruit's library (it's meant more as a setup feature than something that can be continuously adjusted). We tried using the FastLED library, but the strip wasn't responding to any of the commands.
Thus, we returned to the Adafruit library. We spent several more hours trying to get around the fact the Adafruit library didn't have an adjustable brightness feature, but realized we could continuously change the color. By setting the "lowest brightness" to black and the "highest" to white, we could make it seem like the strip was decreasing and increasing in brightness (even though it was really just a color change). Unfortunately, the strip wasn't responding at all to the sensor. After scouring the Adafruit NeoPixel Uberguide and racking our brains for 12+ hours on the project, we decided to return to it in a few days.
3/28-3/30/18:Weirdly enough, when we came back to the project it seemed our last code actually worked(!) and the strips were lighting without a problem. We figured it was a faulty connection in the circuit that caused the project's previous unresponsiveness. Thus, with the code working, we spent this session connecting the final LED strips and cleaning up the code. Since we used an addressable NeoPixel, we had to call the brightness/color of each pixel, so we put all of the pixels in an array and controlled the brightness in the loop function. We also included several tests in case the strip acted up to check if anything malfunctioned (e.g. testing first pixel's brightness, testing brightness based on the distance limit we set for the sensor, etc).
After we brought Interwoven to the gallery, the LEDs started acting up again and eventually stopped working. Since we were attaching the microcontroller and wires in a slightly altered arrangement to fit the gallery, we thought we just had to reinforce the circuit. However, when we tested the program we noticed that the sensor was still working and realized it was actually one of the LED strips that failed. The first strip broke, which was preventing the other strips from getting power. After we replaced the strip, everything began working again and Interwoven was successively up and running for the entire festival. Here is our final code.
If we were to build on this, I think it would definitely be interesting to work with multiple sensors to ensure visitors' movements would always be read. Having additional interactive elements, like a pressure-sensitive interaction that prompts the visitor to touch the work (rather than just look at it), would also be something we would like to explore. Additionally, we ran into a problem with brightness color towards the end that we still couldn't solve. As seen in videos from 3/28-3/30, the lights turned white at their maximum brightness, but within a few days the only red would light up (even though the color value was set to (255,255,255)). We tested blue and green on the strip, both of which seemed to work, so if we revisited this we probably would use a NeoPixel RGBW strip to ensure we would get a consistent white light.